
Understanding Connection Methods
Single camera - Wi-Fi
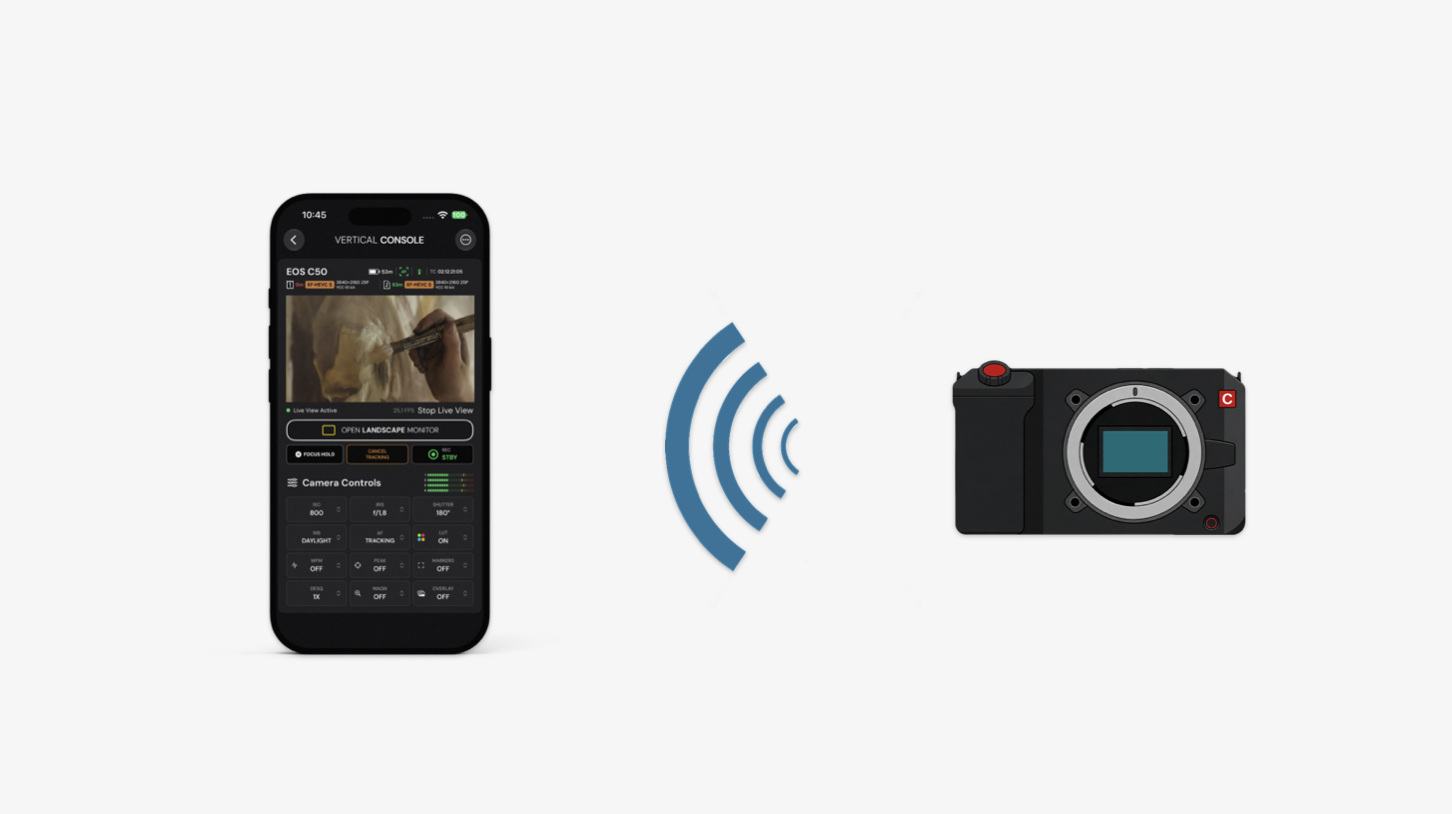
Camera Access Point (softAP)
In this mode, the camera acts as an access point to which the phone is connected.
Streaming latency and quality depend primarily on the camera's Wi-Fi capabilities and the technology supported by the camera's built-in radio module (2.4 GHz, 5 GHz, or mixed).
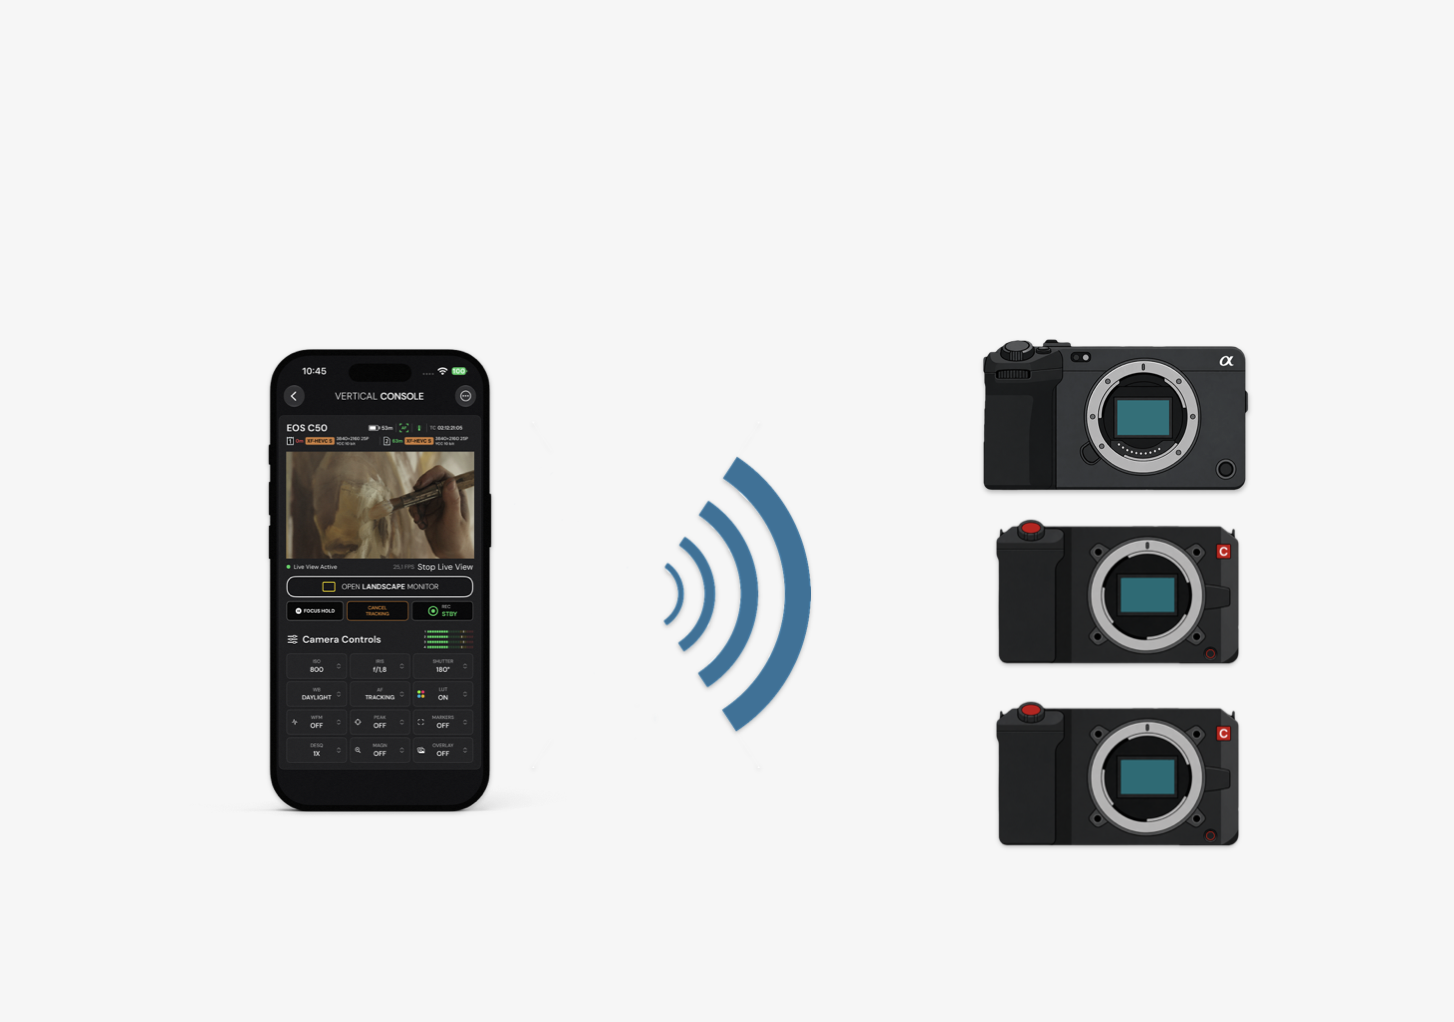
Multi camera - Wi-Fi
In this mode, the phone shares a hotspot to which one or more cameras are connected. Low latency and high-quality multi-camera streaming can be achieved with devices compatible with 5 GHz and 2.4 GHz.
On iPhone 12 and later, enabling “Maximize Compatibility” disables 5 GHz (and 6 GHz where applicable) restricting Personal Hotspot to 2.4 GHz and WPA2. This improves compatibility with older devices, but may drastically reduce network performance.
If “Maximize Compatibility” is set to OFF:
The higher-performance bands supported by the iPhone become available. Band selection is managed automatically by iOS and may vary depending on the iPhone model, region, software version, and connected devices.
For the most predictable multi-camera performance, a dedicated 5 GHz wireless access point is recommended.
Personal Hotspot
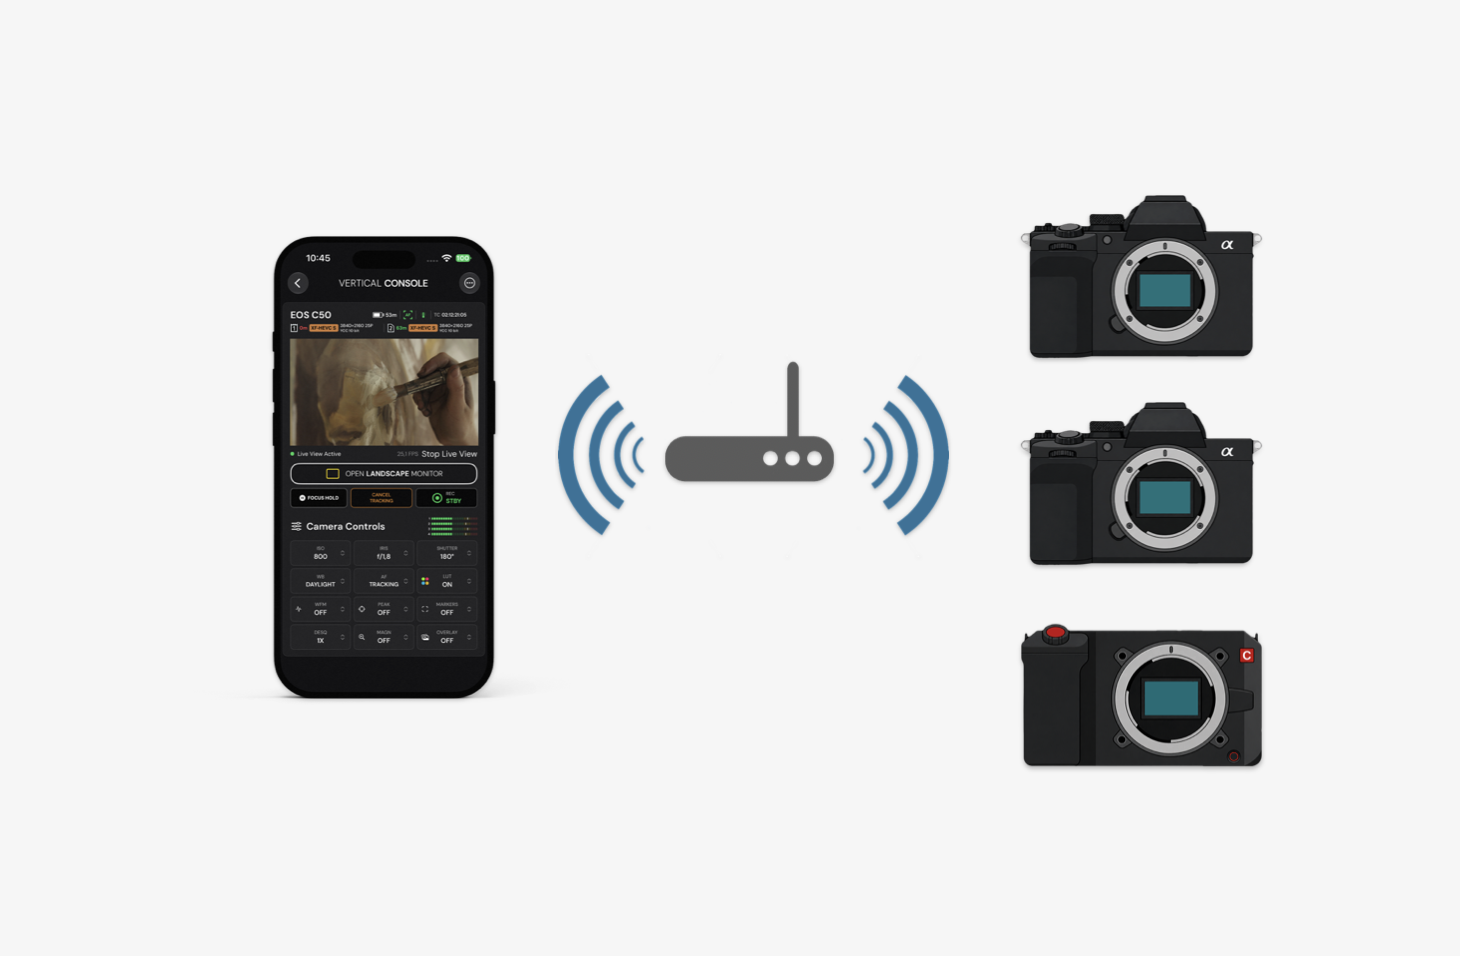
Multi camera - Wi-Fi
In this mode, the phone and one or more cameras are connected via Wi-Fi to an external access point.
Connection speed and quality depend on the Wi-Fi standard used (Wi-Fi4, Wi-Fi5, Wi-Fi6 etc.), the capabilities of the access point, and those of the individual devices. Interference and a high number of devices operating in the same area can significantly affect overall performance.
In general, with external access points operating at 5 GHz using the Wi-Fi 6 (802.11ax) standard and offering actual throughput of 300/400 Mbps, it is possible to achieve high-performance multi-camera monitoring with up to 4 cameras connected simultaneously.
External Access Point
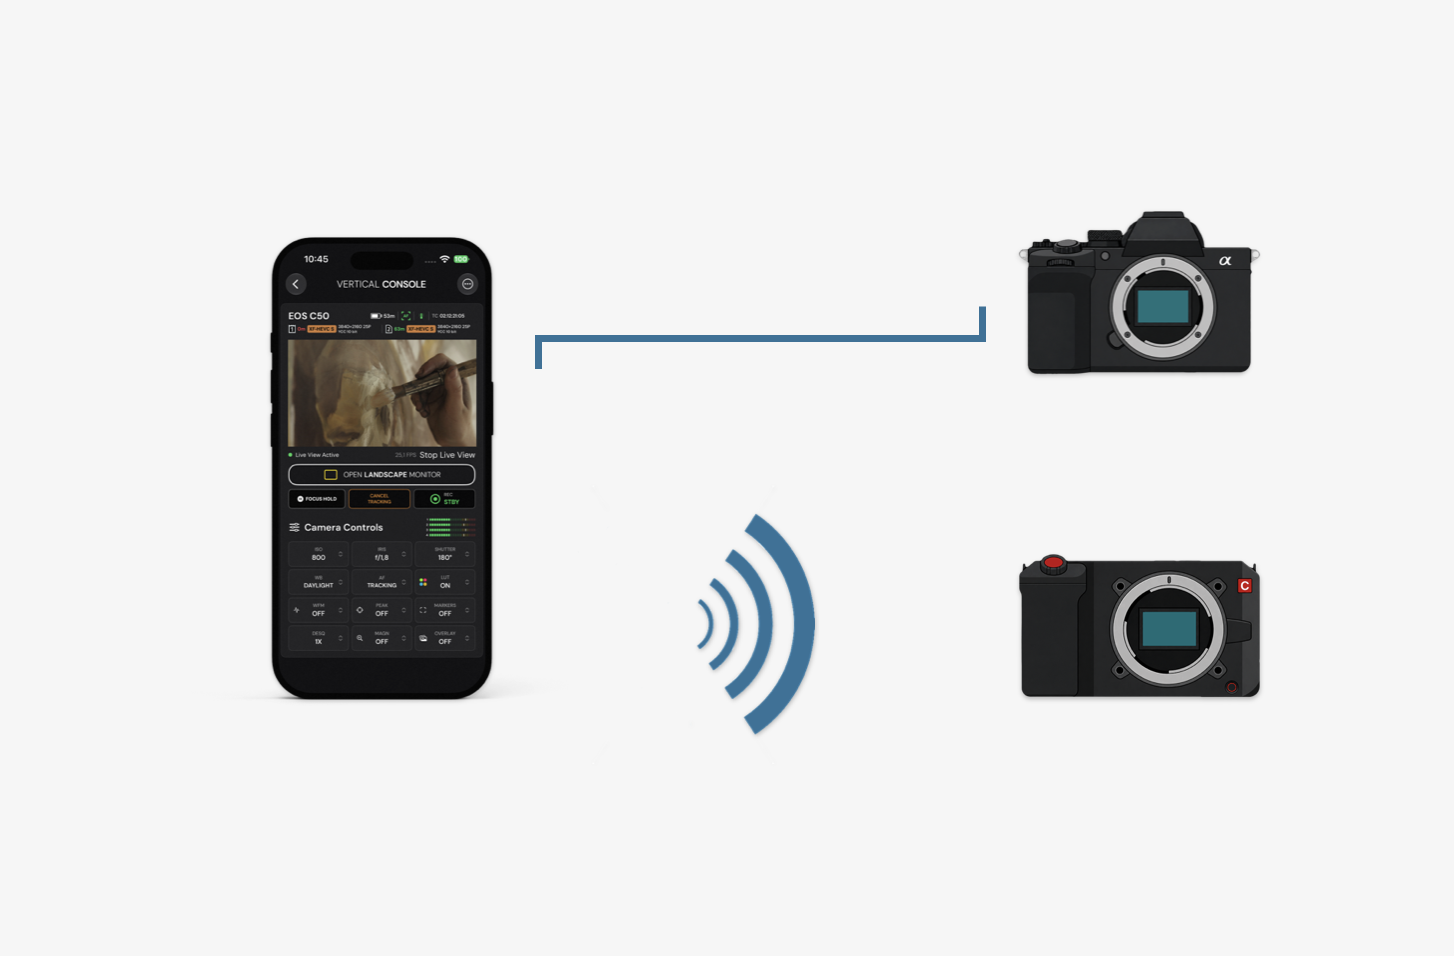
Multi camera - USB-C + Wi-Fi
In this mode, the phone is connected to a supported Sony Alpha or FX camera via a USB-C cable.
Optimal stability can be achieved in this mode without the need for Wi-Fi pairing.
If desired, up to 3 additional cameras can be connected using Wi-Fi, thereby operating the app in mixed USB + Wi-Fi mode. The Wi-Fi connection methods are the same as those available in Wi-Fi-only modes, namely Camera Access Point, Personal Hotspot, and External Access Point.
Wired USB-C
Set up your camera
Select your product family for specific instructions:
-
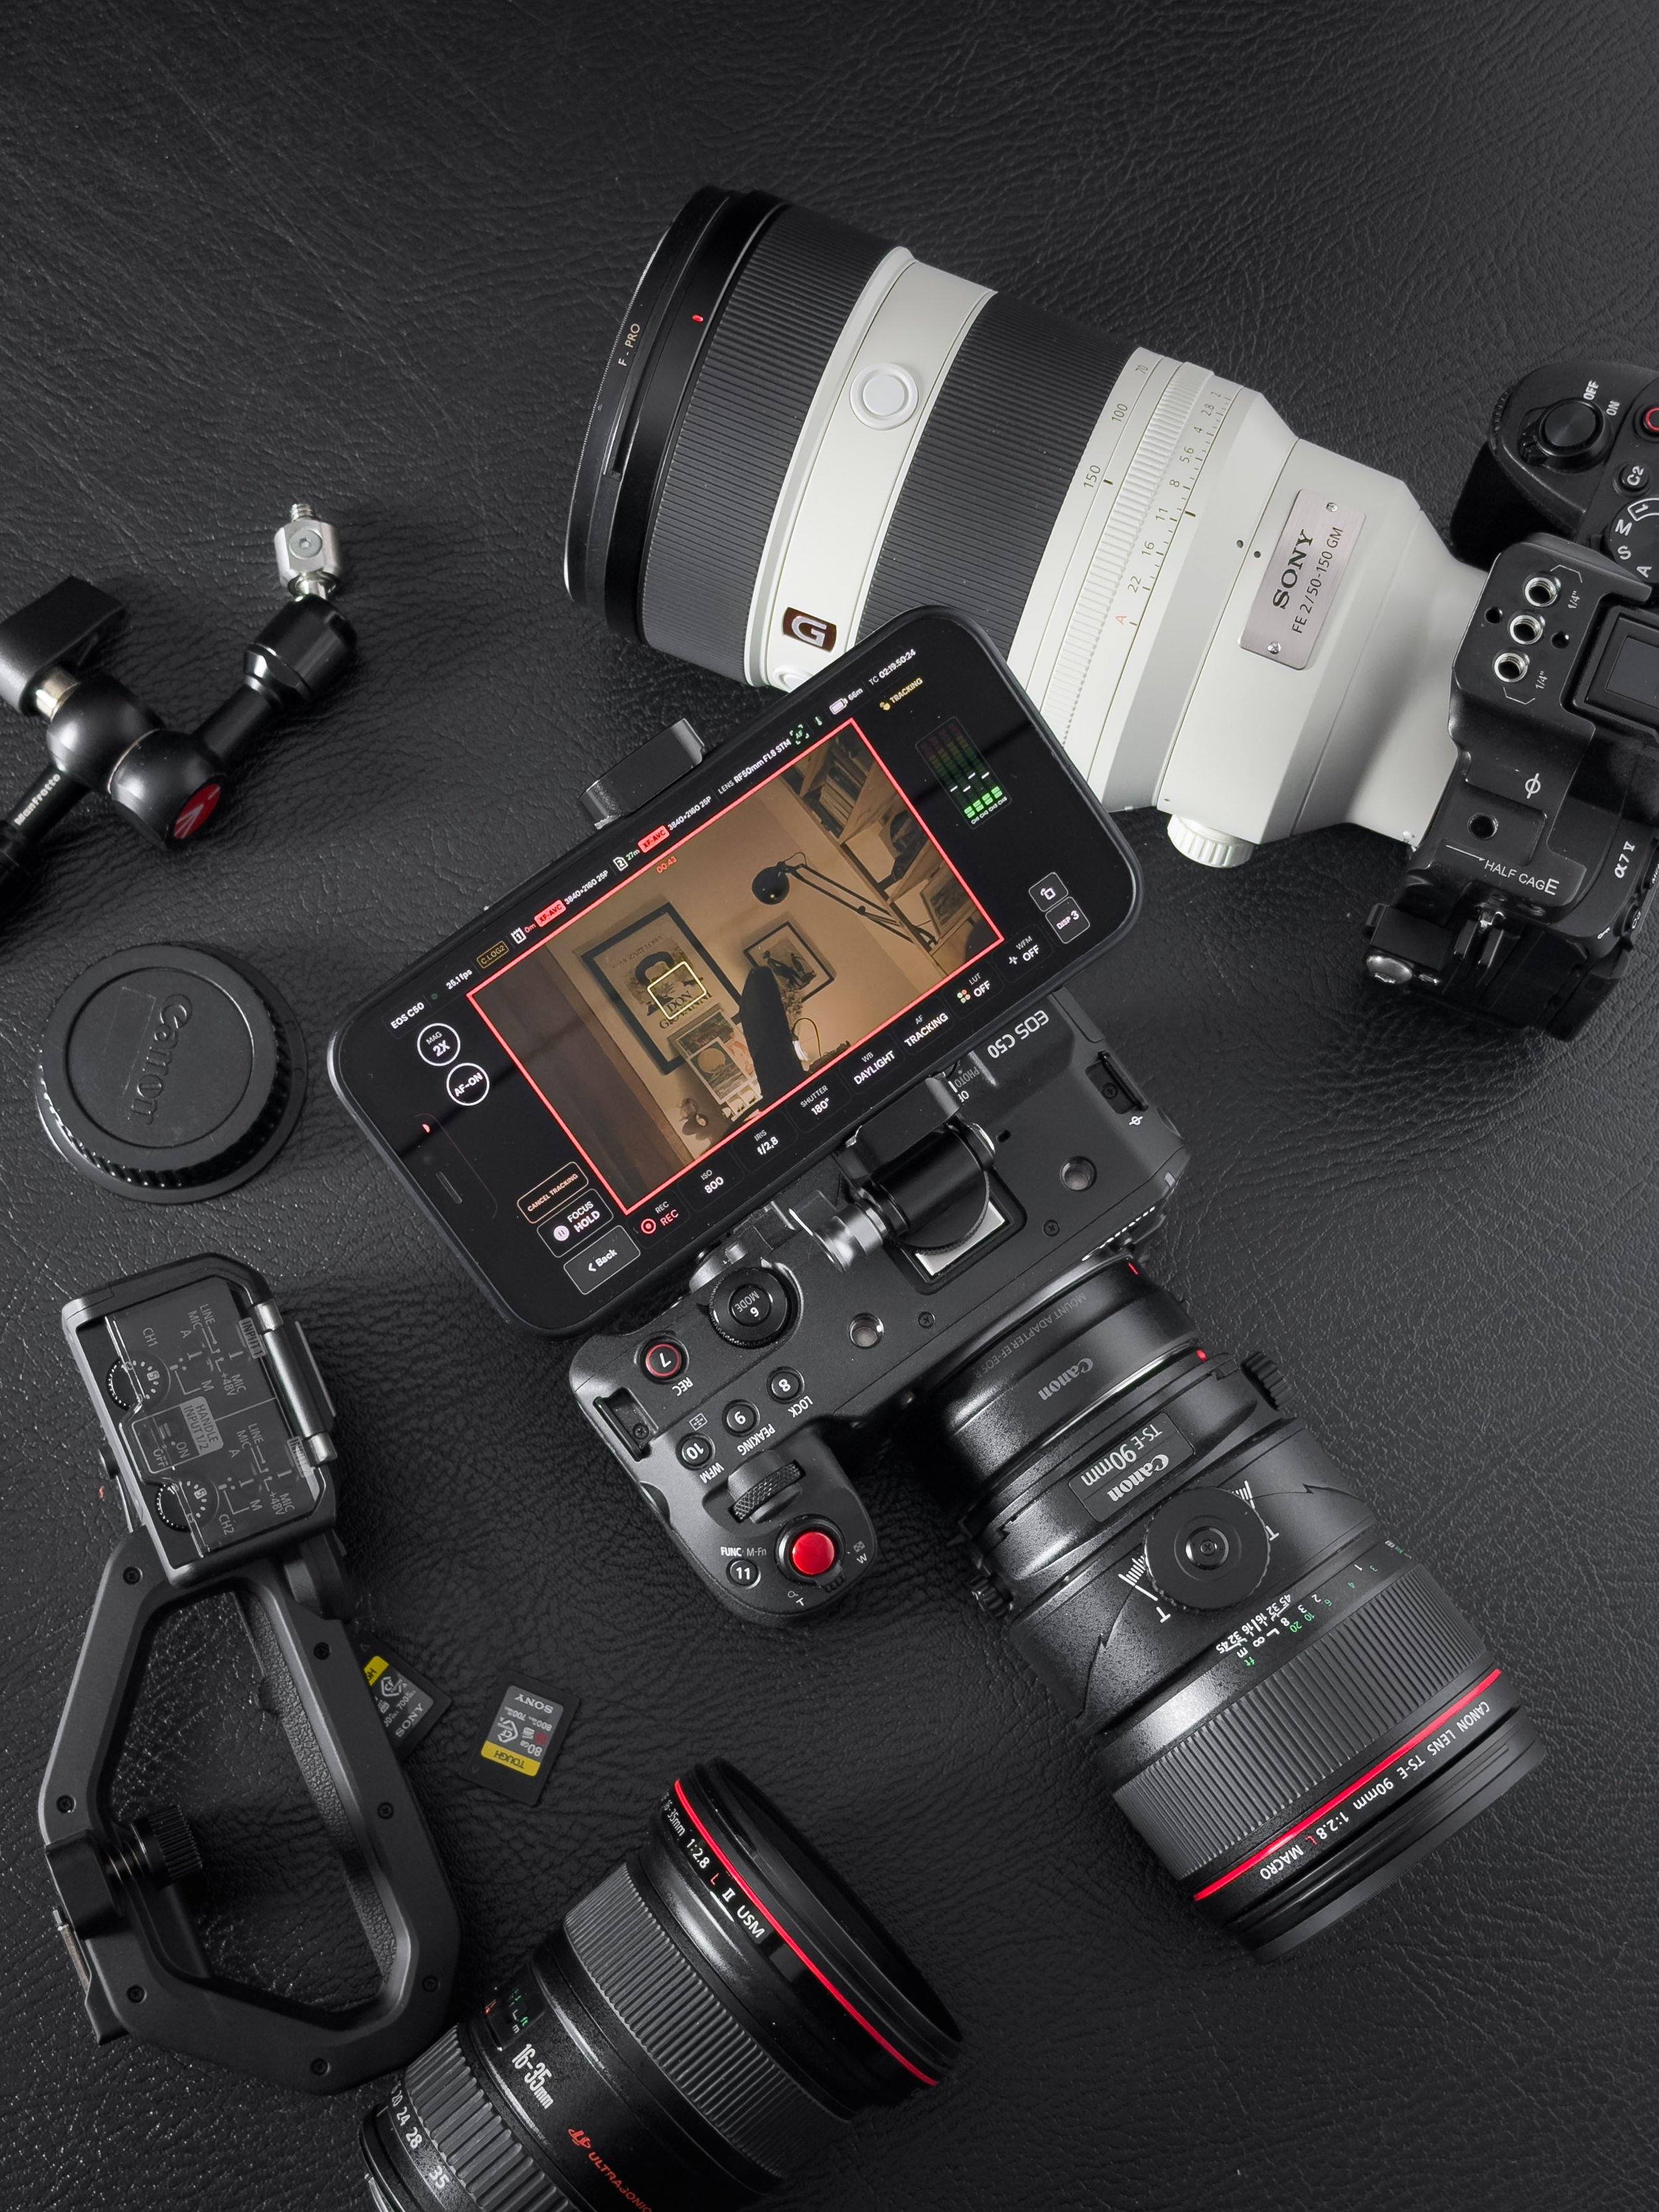
How to connect Canon Cinema EOS cameras via XC Protocol
This guide is based on the Canon EOS C50 in VIDEO mode. Menu names and available options may differ on other compatible camera models.
1. Enable the network functions
On the camera, open:
MENU > Network/USB Settings > Network > Enable
2. Create a new connection setting
Select:
Network/USB Settings > New Conn. Setting (Wizard)
Then:
Select XC Protocol and confirm with OK.
Select Create New Comm. Setting.
Select Wi-Fi.
3. Choose how to connect
You can connect the camera and your iPhone or iPad in either of the following ways.
Option A — Connect through an existing Wi-Fi network
On the Select a network screen:
Select the Wi-Fi network currently used by your iPhone or iPad.
Enter the network password.
Confirm the connection.
The camera and your iPhone or iPad must be connected to the same local network.
Option B — Use Camera Access Point Mode
Select:
Camera Access Point Mode > Easy Connection
The camera will create its own Wi-Fi network and display its network name—also called the SSID—and password.
On your iPhone or iPad:
Open Settings > Wi-Fi.
Select the network created by the camera.
Enter the password displayed on the camera.
Return to the camera and continue the setup.
4. Configure the IP settings
When the IP Address Settings (IPv4) screen appears, select:
Automatic Setting
When prompted to configure TCP/IPv6, select:
Disable
If you selected Camera Access Point Mode > Easy Connection, the camera may configure these settings automatically.
Select OK to complete the communication settings.
5. Configure the XC Protocol function
Select:
Create New Func. Setting
Then choose the authentication method:
Select No Auth. (general user) for the simplest setup on a controlled local network.
Select Basic Authentication if you want the camera to require a username and password. Make a note of these credentials, as you will also need them in Director Mode.
Confirm the settings with OK.
6. Save the connection setting
Select an available connection slot, from SET1 to SET20.
When the confirmation message appears, press SET. The camera will connect to the network and will be ready to accept commands from Director Mode.
7. Check the connection
To review the saved configuration, open:
Network/USB Settings > Connection Setting > Selected SET > Check Settings
Check the displayed IPv4 address:
When using an existing Wi-Fi network, it should be the address assigned to the camera by the router or access point.
When using Camera Access Point Mode, it should be the camera’s own IP address.
Tip: Leave Network set to Enable to have the camera reconnect to the saved network automatically each time it is powered on, making reconnection to Director Mode almost immediate. When using Personal Hotspot, you may need to turn the hotspot off and back on; the camera should reconnect automatically within a few seconds.
8. Connect from Director Mode
Make sure your iPhone or iPad is still connected to the correct Wi-Fi network, then open Director Mode and select the camera from the available camera list.
If you configured Basic Authentication, enter the same username and password you set on the camera.
If the camera is not detected, check that the selected connection SET is active and that the camera and your device are connected to the same network.
-
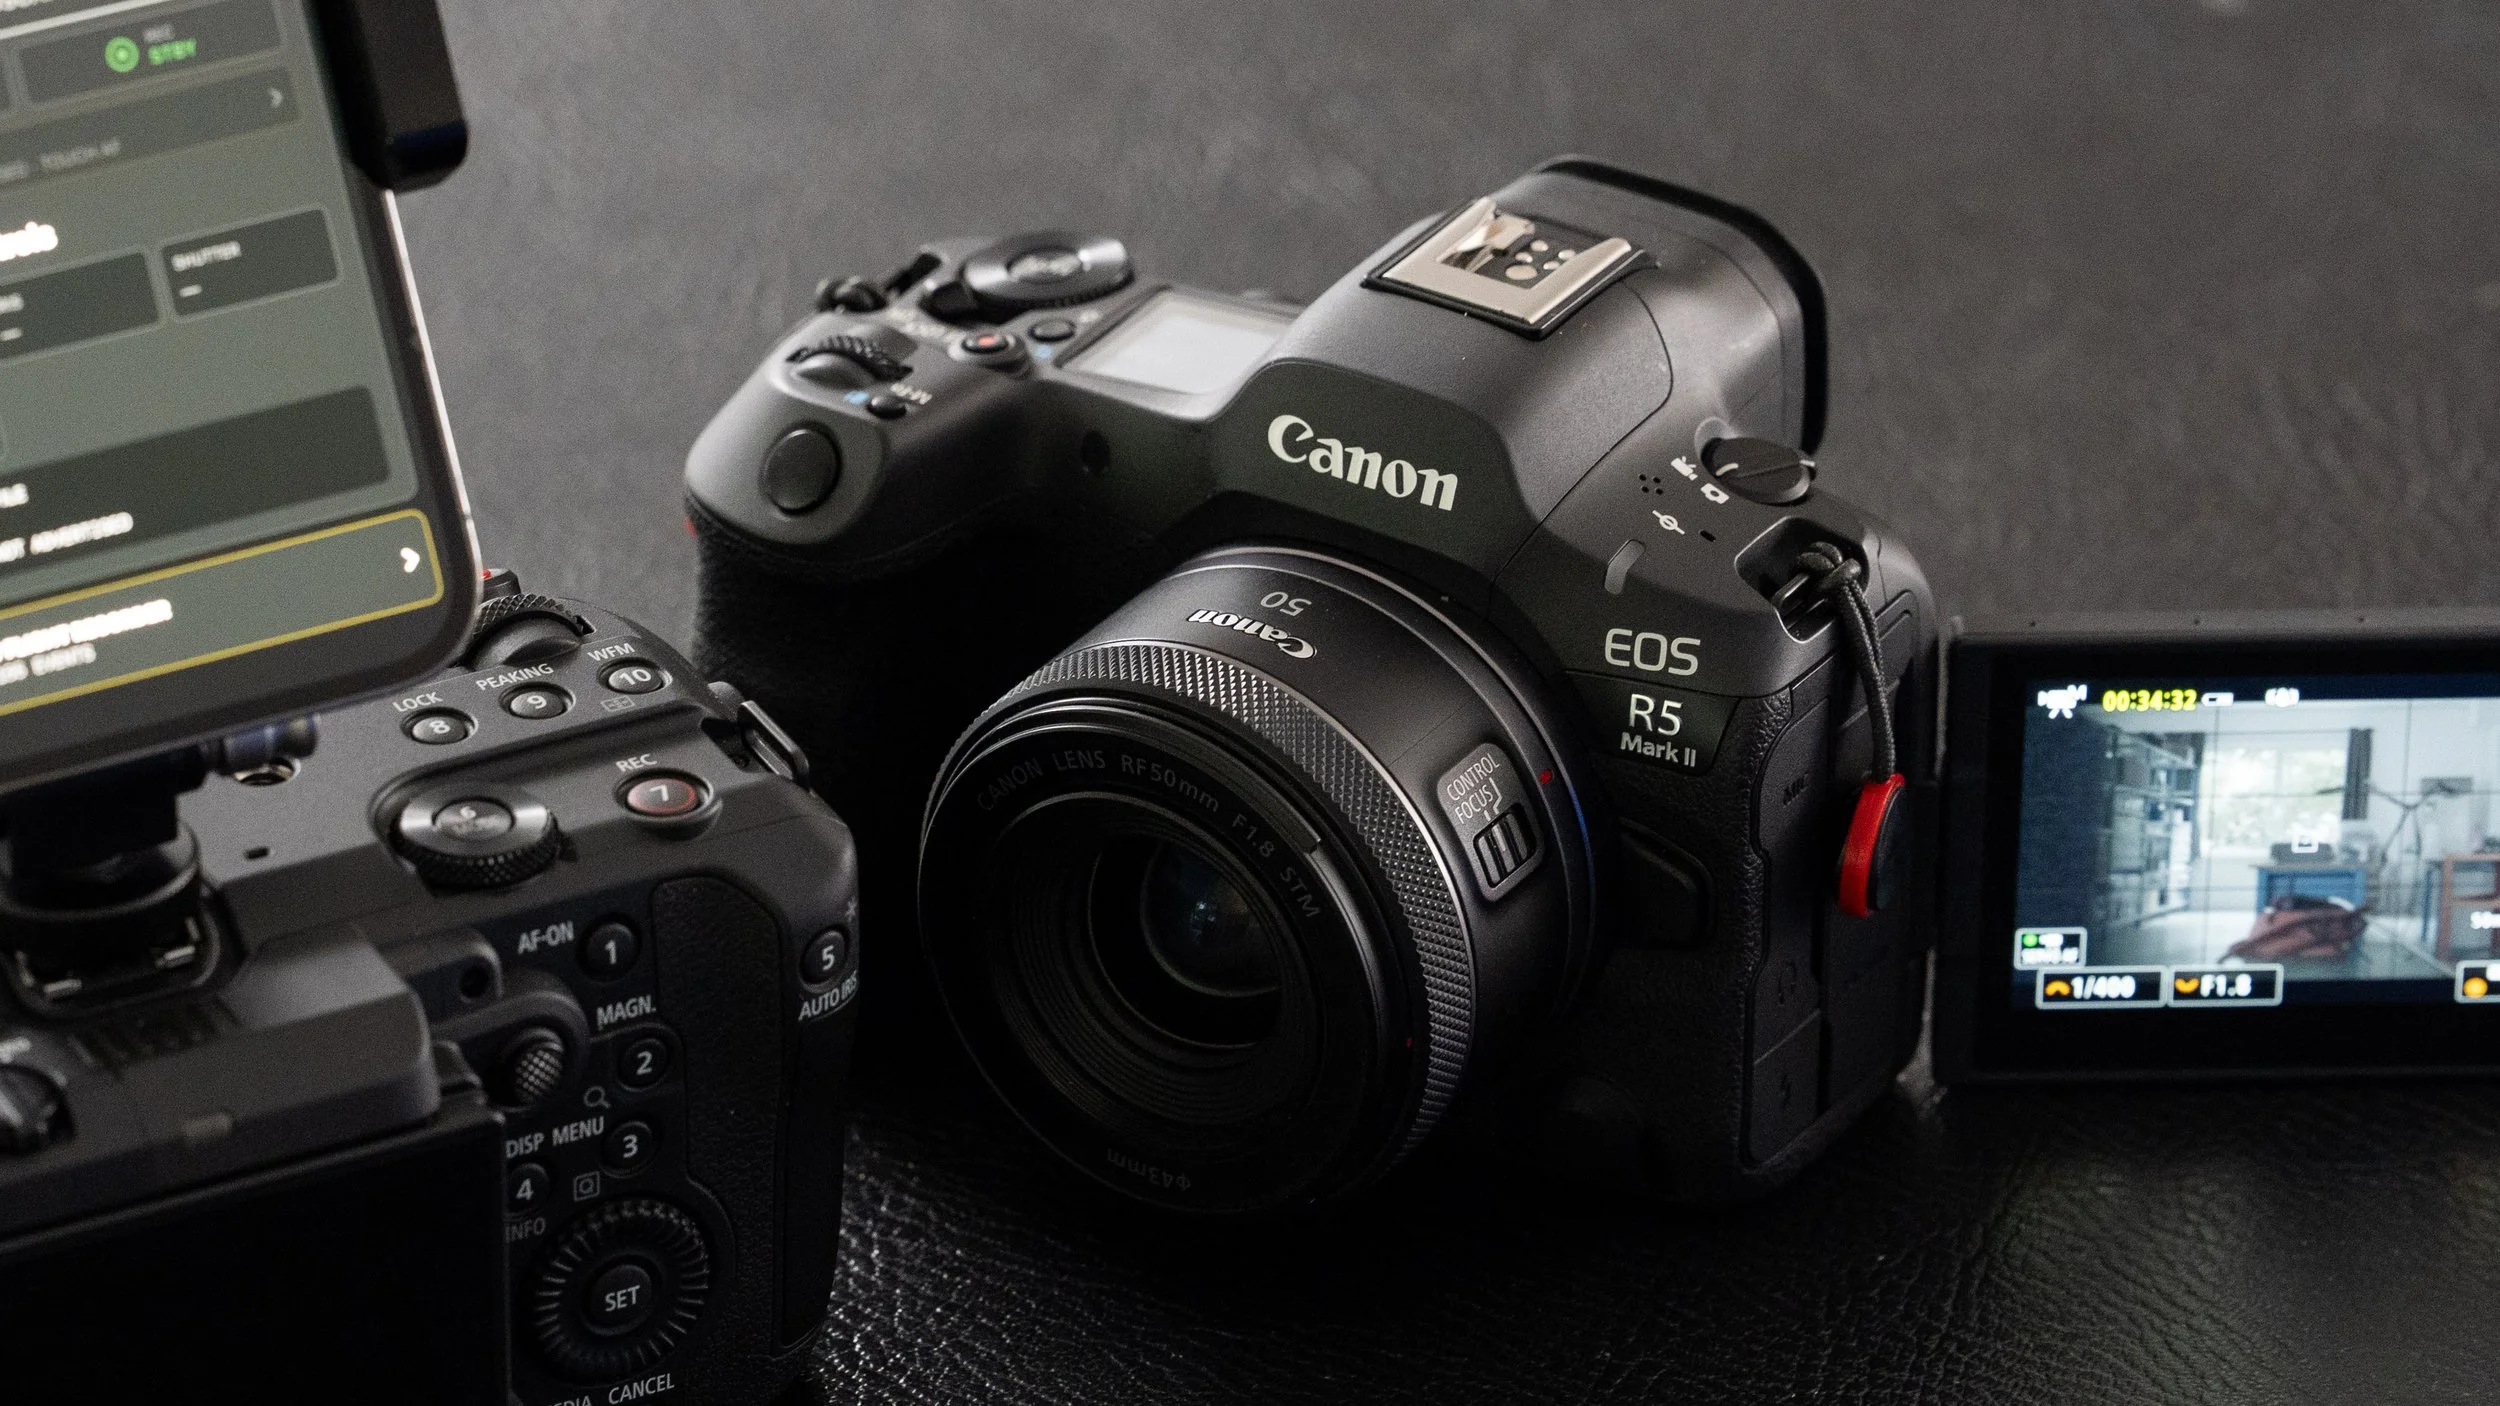
How to connect Canon EOS R cameras via CCAPI - Beta
This guide is based on the Canon EOS R5 Mark II. Menu names and available options may differ on other compatible cameras. Update the camera to the latest available firmware before starting.
Beta support: Support for Canon EOS R cameras is currently in beta. Available functions and performance may vary depending on the camera model, firmware version and network conditions.
HTTP only: Director Mode currently supports CCAPI connections over HTTP only. HTTPS is not supported and must be set to Disable.
Before you start
Set the camera to Movie mode, then select:
MENU > Shooting > Standby: Low res. > Off
This setting is essential: leaving Standby: Low res. enabled can significantly reduce the Live View frame rate in Director Mode.
1. Open the Camera Control API menu
On the camera, select:
MENU > Communication functions > Camera Control API
If prompted to register a camera nickname, enter a recognizable name.
If Camera Control API is not available in the menu, update the camera firmware.
2. Configure HTTP and authentication
In the Camera Control API menu, configure the following settings:
HTTPS > Disable
User authentic. > Disable
Leave Port no. (HTTP) at its default value.
Director Mode does not currently support HTTPS or authenticated CCAPI connections. Use this configuration only on a trusted local network.
3. Create the Wi-Fi connection
Select:
Connect > Add with wizard > Wi-Fi > OK
Then:
Select the Wi-Fi network used by your iPhone or iPad.
Enter the Wi-Fi password.
Select Auto setting for the IPv4 address.
Set IPv6 to Disable.
Press SET to save the communication settings.
The camera and your iPhone or iPad must be connected to the same local network.
4. Connect from Director Mode
When the camera asks you to operate the destination device:
Open Director Mode on your iPhone or iPad.
Wait for the camera to appear on the Cameras page.
Select the camera and tap Connect.
Once the connection is established, the camera will display CCAPI Communicating.
5. Enable automatic reconnection
After completing the first connection, disconnect if necessary and return to:
Communication functions > Camera Control API > Auto connect > Enable
The camera will now reconnect to the saved Wi-Fi network automatically each time it is powered on, allowing Director Mode to reconnect within a few seconds.
Tip: When using Personal Hotspot, you may need to turn the hotspot off and back on before the camera reconnects automatically.
-
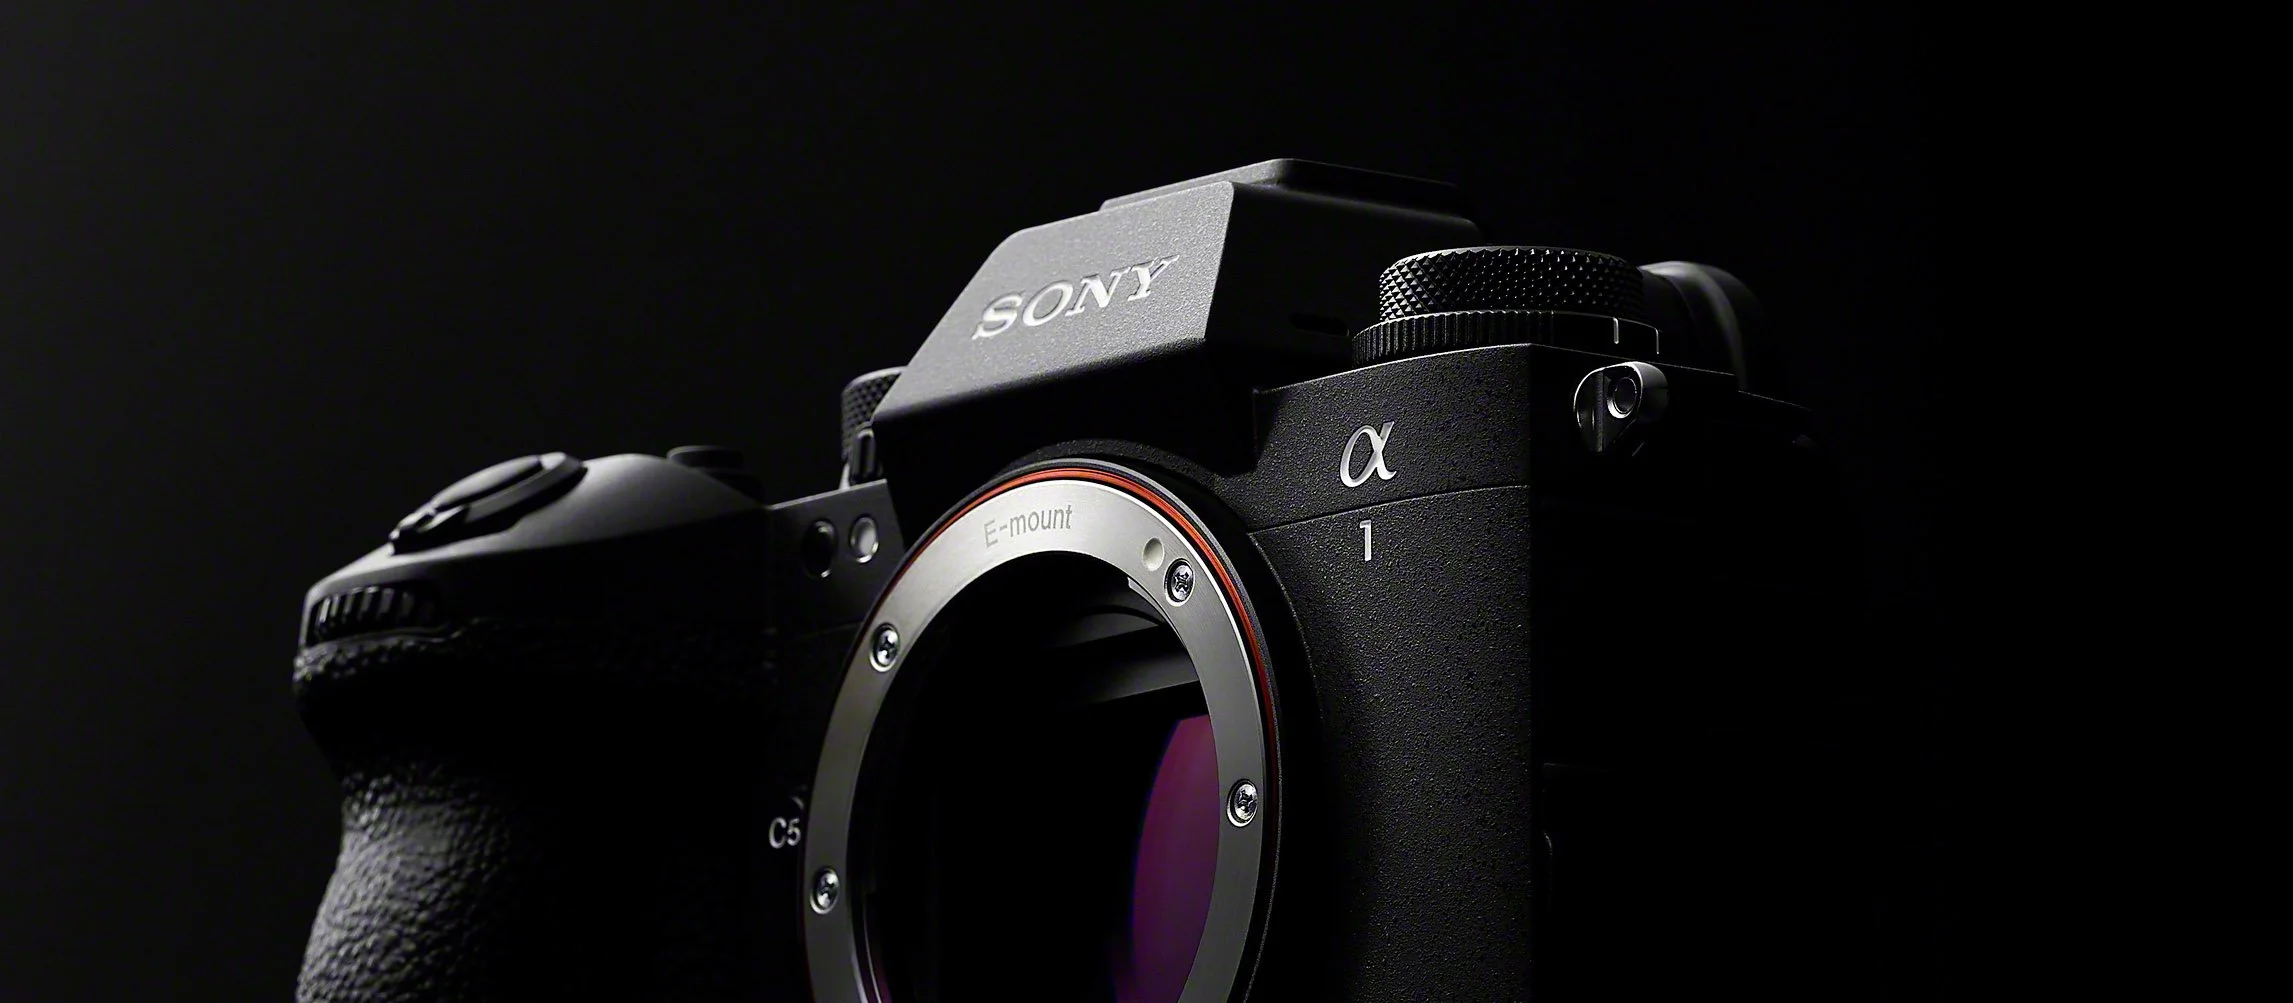
How to connect Sony Alpha and selected Sony FX cameras over Wi-Fi
These instructions are based on the Sony α7 V. Menu names and available options may differ depending on the camera model.
Compatibility note: Only selected Sony Alpha and Sony FX cameras are supported. Check the Compatibility page before proceeding.
For the best Live View performance, use a 5 GHz Wi-Fi connection whenever possible. At normal operating distances, 5 GHz networks provide significantly faster and more stable performance than 2.4 GHz.
Choose one of the following connection methods.
Method 1 — Connect through an existing Wi-Fi network
Use this method to connect through an external access point, wireless router or iPhone Personal Hotspot.
1. Register the Wi-Fi network
On the camera, select:
MENU > Network > Wi-Fi > Access Point Set.
Then:
Wait for the camera to scan for available networks.
Select the network used by your iPhone or iPad.
Enter the Wi-Fi password.
Leave IP Address Setting set to Auto.
Confirm that Priority Connection is set to On.
Selecting a registered access point normally enables Priority Connection automatically. Leave it enabled to prioritise this network during future connections.
For the best performance, select a 5 GHz network. If your router uses the same SSID for multiple frequency bands, the camera may select the signal with the greatest strength rather than the fastest band.
2. Connect the camera to the network
Select:
MENU > Network > Wi-Fi > Wi-Fi Connect > On
The camera will connect to the registered access point.
Make sure the iPhone or iPad running Director Mode is connected to the same Wi-Fi network.
To verify the connection, select:
MENU > Network > Wi-Fi > Display Wi-Fi Info.
Check that the camera has received a valid IP address.
3. Enable Remote Shooting
Select:
MENU > Network > Cnct./Remote Sht. > Remote Shoot Function > Remote Shooting > On
The camera is now ready to be discovered by Director Mode.
Method 2 — Connect directly to the camera’s Wi-Fi network
With this method, the camera creates its own Wi-Fi network and works as an access point.
1. Select the Wi-Fi frequency band
Select:
MENU > Network > Wi-Fi > Wi-Fi Frequency Band > 5GHz
The Wi-Fi Frequency Band setting applies specifically to Wi-Fi Direct connections.
2. Enable Remote Shooting
Select:
MENU > Network > Cnct./Remote Sht. > Remote Shoot Function > Remote Shooting > On
3. Start the camera’s Wi-Fi network
From the same menu, select:
Wi-Fi Direct Info.
If displayed, select:
Exit and go to next
The camera will show the SSID and password of the Wi-Fi network it has created.
4. Connect your iPhone or iPad
On your iPhone or iPad:
Open Settings > Wi-Fi.
Select the SSID displayed by the camera.
Enter the password displayed on the camera.
Return to Director Mode.
Your device may indicate that this Wi-Fi network has no internet connection. This is normal.
Complete the first pairing in Director Mode
Once the camera and your iPhone or iPad are connected through either method:
Open Director Mode.
Wait for the network scan to complete.
The camera should appear among the available devices on the Cameras page.
Tap Connect.
Follow steps 1, 2 and 3 shown in the connection pop-up.
On the camera, select:
MENU > Network > Network Option > Access Authen. Info
The camera will display its:
Username
Password
Camera fingerprint
Enter the requested information exactly as displayed, or use the Scan function in the Director Mode connection pop-up.
After successful pairing, the camera will appear as Connected and the Control button will become available. Director Mode will securely remember the camera for future connections.
Security note: The Access Authentication screen contains sensitive camera credentials. Do not photograph, share or display this information where it can be seen by others.
Automatic reconnection
When using an external access point, leave these settings enabled:
Priority Connection > On
Wi-Fi Connect > On
Remote Shooting > On
The camera should reconnect to the saved network automatically after startup and reappear in Director Mode within a few seconds.
When using Wi-Fi Direct, make sure your iPhone or iPad reconnects to the Wi-Fi network generated by the camera.
Tip: When using iPhone Personal Hotspot, it may be necessary to turn the hotspot off and back on before the camera reconnects.